The Apache CloudStack Backup and Recovery (B&R) Framework enables the backup of instances using third-party backup solutions for recovery purposes. For more detailed information, you can refer to the Apache CloudStack Backup and Recovery Documentation.
Built upon the B&R Framework, the Veeam Backup and Recovery plugin was initially implemented to support the backup and recovery of instances running in VMware vSphere environments. Originally developed for Veeam 9.x, this plugin has now been updated to include support for more recent Veeam releases, specifically in the latest Apache CloudStack versions. You can find further details in the Veeam Plugin Documentation
Key Plugin Updates
The latest updates support:
- Veeam Backup & Replication 11
- Veeam Backup & Replication 12
For more details on these releases, visit the Veeam Knowledge Base.
Guide Overview
This guide will demonstrate how to backup and restore instances using Veeam in VMware environments. Below is the setup used for the demonstration:
- VMware 7.0.3 (VCSA and ESXi)
- Veeam Backup & Replication 12 P20230223
Step 1: Update CloudStack Global Settings
To begin, several Global and Zone settings must be configured for Veeam integration. The critical first step is enabling the backup framework by setting the global parameter backup.framework.enabled to true. After updating this setting, you must restart the cloudstack-management service for the changes to take effect.
| Configuration parameter | value | Description |
| backup.framework.enabled | true | Enables or disables the framework feature. |
| backup.framework.provider.plugin | Veeam | Specifies the backup provider plugin (in this case, “veeam”). |
| backup.framework.sync.interval | 300 | Sync interval for collecting metrics, reconciliation, and scheduling backups. Default: 300 seconds. |
| backup.plugin.veeam.url | http://veeam_server_ip:9398/api/ | URL of the Veeam Backup & Replication server. |
| backup.plugin.veeam.version | Specifies the Veeam B&R server version. If set to 0 or left unset, CloudStack will fetch the Veeam server version via PowerShell commands. | |
| backup.plugin.veeam.username | Administrator | Username for the Veeam B&R server. Default: administrator. |
| backup.plugin.veeam.password | Specify your password for the Veeam server. | |
| backup.plugin.veeam.validate.ssl | false | Determines whether to validate the Veeam B&R server’s SSL/TLS connection when making API requests. Default: false. |
| backup.plugin.veeam.request.timeout | 300 | Timeout for Veeam B&R API requests in seconds. Default: 300. |
| backup.plugin.veeam.task.poll.interval | 5 | The interval (in seconds) for how often the CloudStack management server polls the Veeam task status. Default: 5. |
| backup.plugin.veeam.task.poll.max.retry | 120 | The maximum number of retries for polling the Veeam task status. Default: 120. |
Step 2: Import Backup Offering
Backup offerings are imported from backup jobs in Veeam, known as Template Jobs. To create these Template Jobs, a dummy VM tag must first be configured in vCenter. Detailed instructions for configuring the dummy VM tag and setting up Template backup jobs in Veeam can be found in the CloudStack Veeam Plugin Documentation.
To import a backup offering:
- Log in to the CloudStack UI as an administrator.
- Navigate to Service Offerings > Backup Offerings.
- Click the Import Backup Offering
- In the pop-up dialog, select a Zone. The template jobs will be displayed in the drop-down menu for External Id.
- Choose a Template job and click OK to import the backup offering.

Step 3: Assign Instance to Backup Offering
When deploying an Instance, you will see the Assign Instance to Backup Offering icon on the Instance detail page. Follow these steps:
- Click the Assign Instance to Backup Offering icon:

2. Select a backup offering from the list, then click OK.
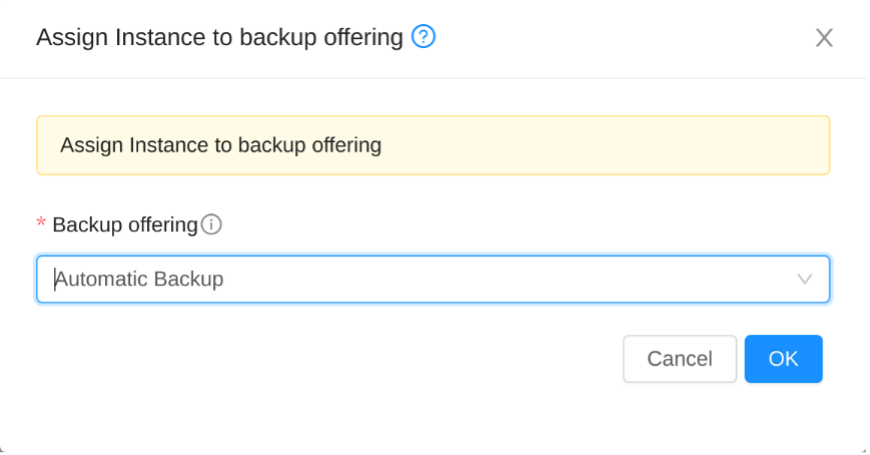
Once the operation is complete, additional icons will appear for actions such as:
- Start Backup
- Configure Backup Schedule
- Remove Instance from Backup Offering

A new backup job will then be created for the Instance in the Veeam Console.
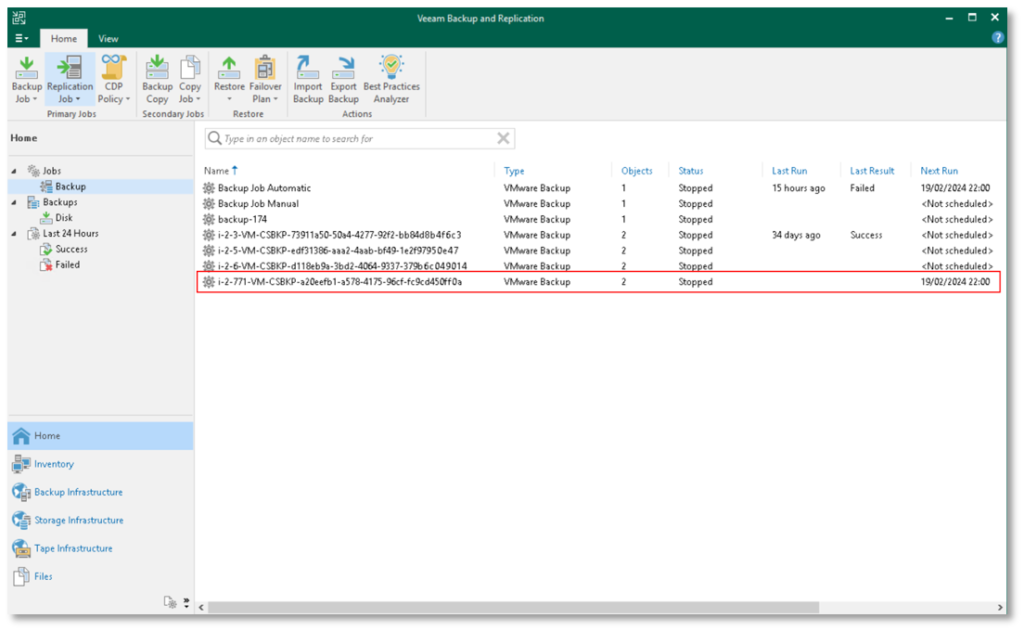
Step 4: Initiate a Backup
To start a backup, click the Start Backup icon on the Instance details page then, click OK.

After initiating the backup in CloudStack, the backup job will be created and processed in the Veeam Console. You can monitor the status of the backup job under the Running Jobs section in the Veeam console:

A background task in CloudStack monitors backup jobs on the Veeam server. The status of these jobs can be controlled using the backup.framework.sync.interval parameter in CloudStack Global Setting. Once the backup is complete, a record will be created in CloudStack.

By clicking on the backup ID, you can view more detailed information.
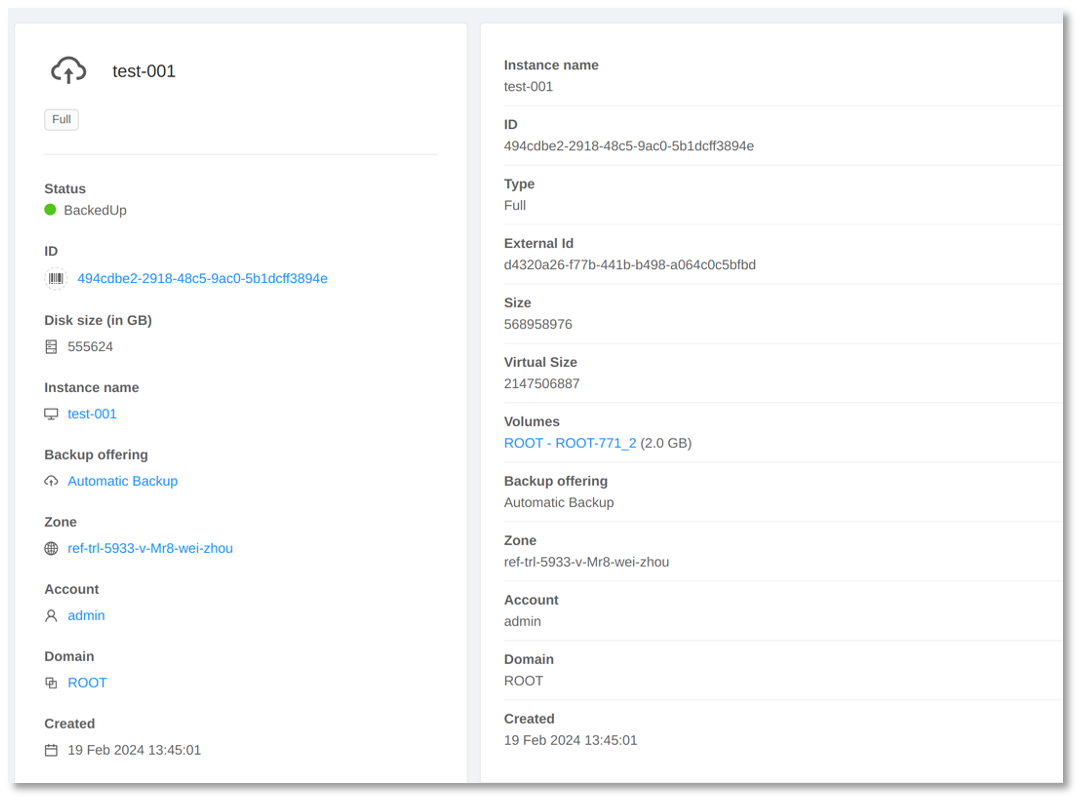
Step 5: Restore an Instance Backup
For each backup, four actions are available:
- Restore Instance backup
- Restore and attach backup volume
- Remove Instance from backup offering
- Delete backup

To restore an Instance from backup:
- Stop the Instance
- Click the Restore Instance Backup
- Confirm by clicking OK in the pop-up dialog.
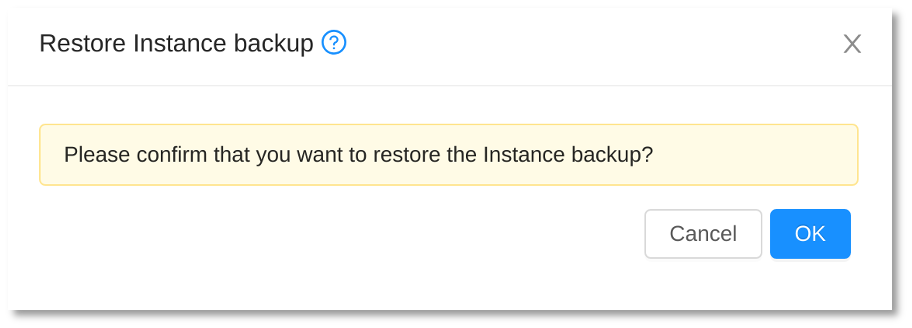
You can monitor the status of the backup restoring job under the Running Jobs section in the Veeam console:

Once the restore task is successfully processed in Veeam, you will see the detailed log of the operation in the Restoring VM window in the Veeam Console as shown below:
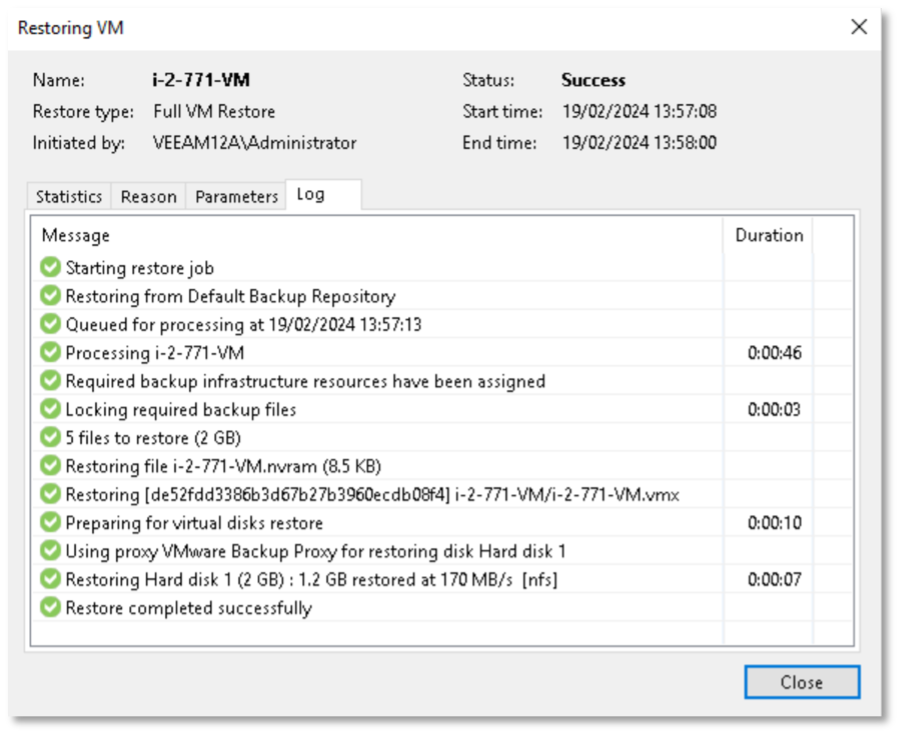
Step 6: Restore and Attach a Backup Volume
If you need to restore a volume from a backup and attach it to another Instance:
Click the Restore and Attach Backup Volume icon on the backup details page.
Select the volume type (ROOT or DATADISK) and target Instance then, click OK.
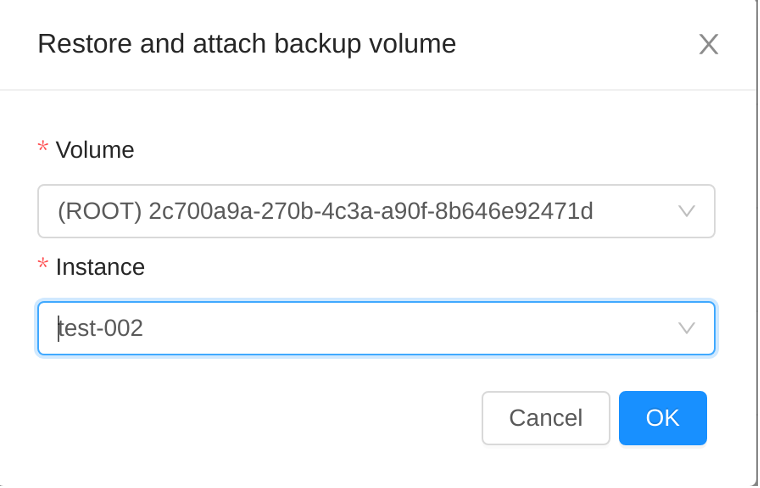
CloudStack will:
- Create a Veeam task to restore the backup to a temporary Instance.
- Move the restored volume to the target Instance.
- Destroy the temporary Instance.
Once the restore task is successfully processed in Veeam, you will see the detailed log of the operation in the Restoring VM window in the Veeam Console as shown below:
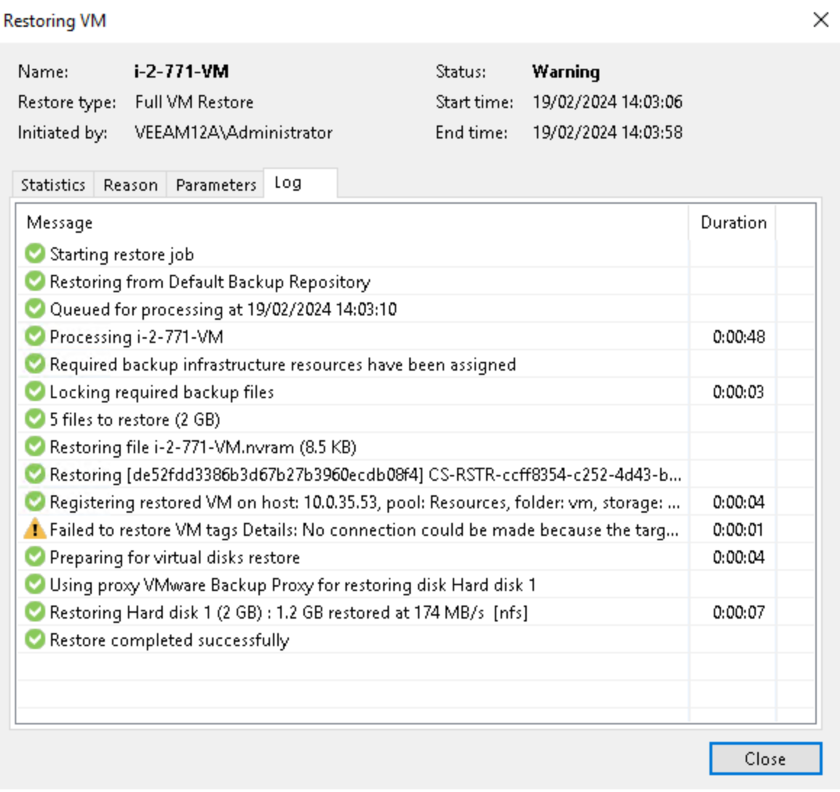
A new DATADISK will be attached to the target Instance as shown below:

Step 7: Additional Operations
- Delete Backup
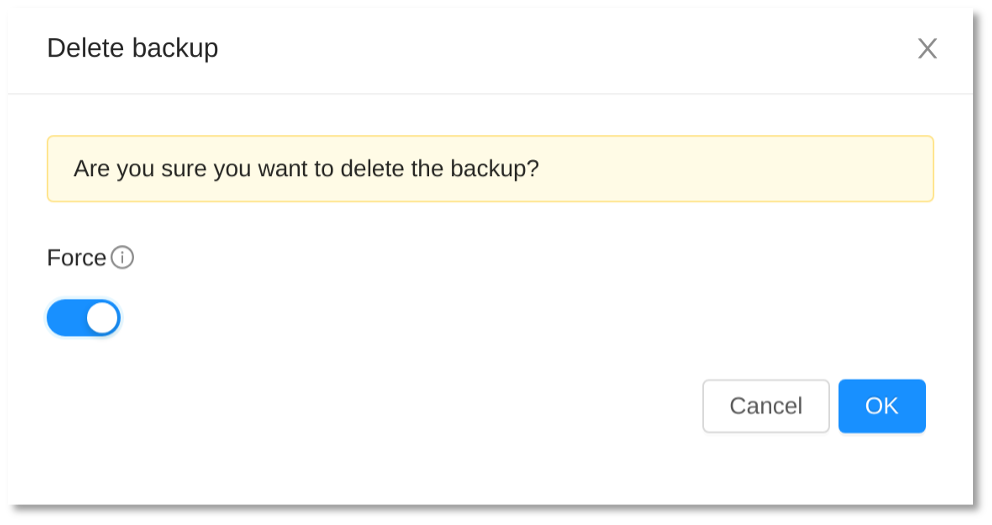
To remove a backup, click the Delete Backup icon. Note that due to a limitation in Veeam [3], when enforcing the retention policy, the retention policy will delete the entire backup chain for the Instance. Therefore, the ‘force’ option must be checked, which will result in the removal of all backups for the Instance. This issue is partially addressed in Veeam 12, but CloudStack does not yet support this enhancement.
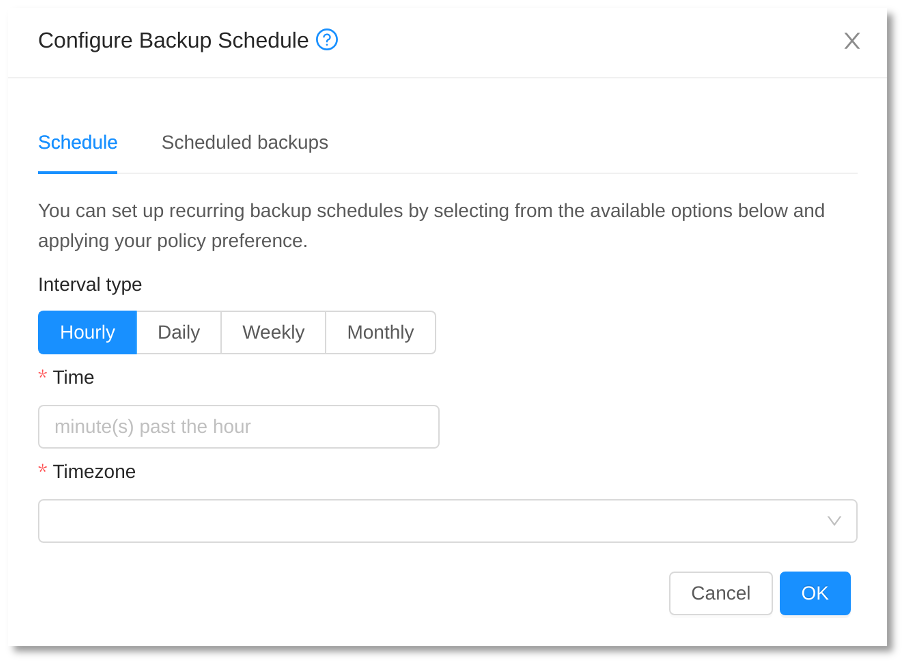
- Configure Backup Schedule
To schedule backups, click the Configure Backup Schedule icon.
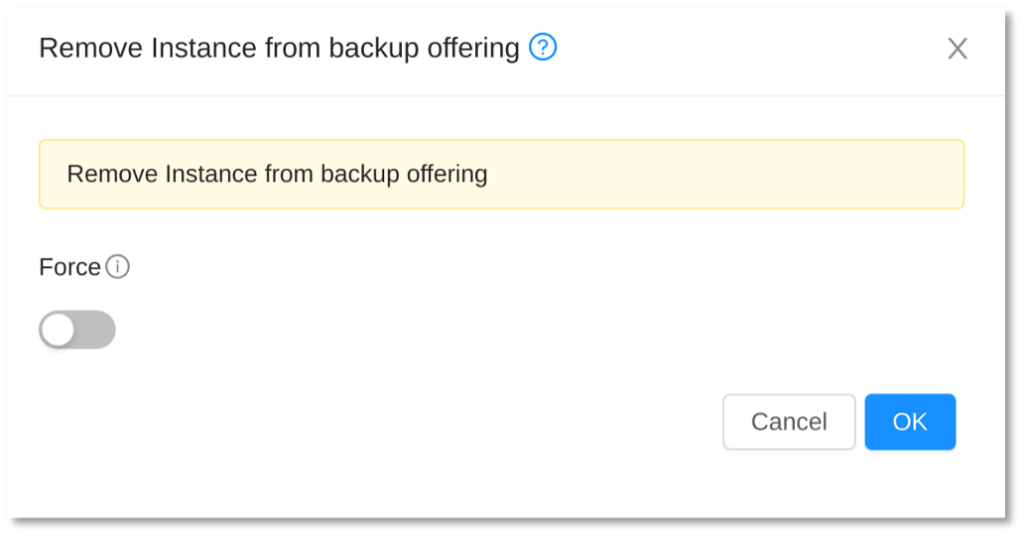
- Remove Instance from Backup Offering
To remove an Instance from a Backup Offering, click the corresponding icon. If the Force option is checked, all backups will be removed, and the job deleted from the Veeam server.
Conclusion
The Veeam Backup and Recovery plugin enhances Apache CloudStack by offering comprehensive backup and recovery capabilities. With support for Veeam Backup & Replication 11 and 12 [1][2], this plugin is available in the latest CloudStack versions, providing a reliable solution for backing up and restoring instances.
The latest updates ensure that users can easily manage backups and restores directly from the CloudStack UI, making it a practical tool for protecting critical data and ensuring efficient recovery when needed.
References
[1] https://github.com/apache/cloudstack/pull/8241
[2] https://github.com/apache/cloudstack-documentation/pull/357
[3] https://helpcenter.veeam.com/archive/backup/110/vsphere/retention_separate_vms.html
Wei Zhou works as a Software Architect at ShapeBlue. He has many years experience on cloud computing and a passion for various cutting-edge knowledge. Wei works on software design and implementation, as well as resolving issues for customers and community users. Wei has been a committer of the Apache CloudStack project since 2013 and a PMC member since 2017.


